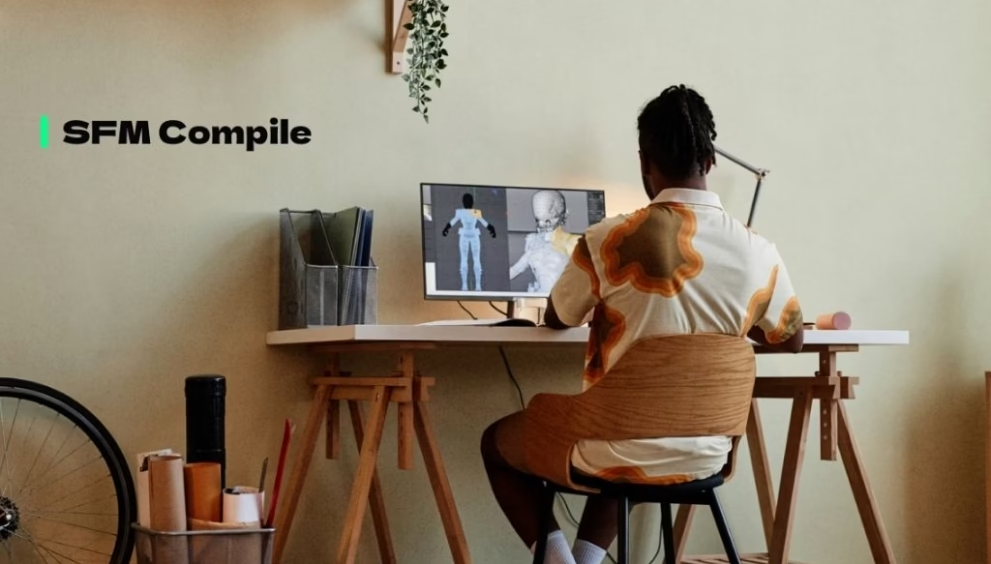
Source Filmmaker is a great tool to learn animation with, but one of the most important things many people starting with it have a hard time with is getting custom models to actually work. This is where SFM compile comes in.
What Is SFM Compile and Why You Need It
SFM compile is the process of converting raw 3D model files into formats that can be read and displayed by Source Filmmaker. A downloaded model or a self-created model will generally be in SMD or DMX files. They will not work in SFM until you organize them into MDL files.
You can imagine it as translating a document. The Source engine only listens to one language, and your beautiful 3D model speaks another. The compilation process bridges this gap so that you can be sure your models load correctly with the right textures, bones, and animations.
Without proper SFM compile, you will get pink and black checkerboard textures, missing models, broken animations, or even crashes. Learning this process opens endless creative potential in Source Filmmaker.
Essential Tools to Compile in Source Filmmaker
Three primary tools will be required to assemble models. Each has its purpose in the workflow.
Studiomdl is packaged with the Steam SDK. This is a command line utility which interprets QC script files and generates MDL outputs. Although it is simple, it is a trusted tool that manages most compilation requirements. It is located in your SFM installation in the bin folder.
Crowbar simplifies the whole process a lot. This is a free tool that has a visual interface for compiling and decompiling models. You don’t have to type in commands, you just drag and drop your QC file and then click compile. The majority of creators use Crowbar due to clear error messages and the ability to process in batches.
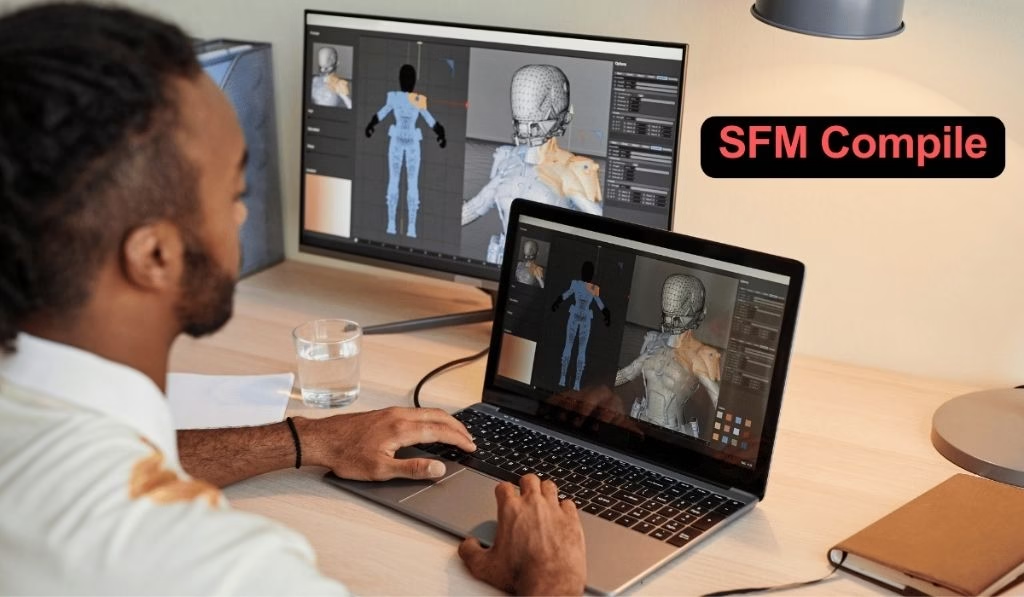
HLMV (Half-Life Model Viewer) provides a preview of compiled models before you test them in SFM. You are able to check textures, bone movements, and physics meshes. This preview step saves hours of troubleshooting later.
Understanding QC Files in SFM Compile
The QC file serves as your blueprint in the SFM compile. This text file tells the compiler how to construct your model. Any successful compile begins with a well-written QC file.
There are some important elements that your QC file should contain. The $modelname line determines the final name of your MDL file. The textures are referenced in the $cdmaterials line. The main mesh file is mentioned in the $body line. All paths need to be correct, or the compile will fail.
The simplest form looks like this: The $modelname needs to be the name of your project, the $cdmaterials needs to use forward slashes to your texture folder, and the $body reference needs to point to the exact SMD file. The paths are case-sensitive, and even a small typo ruins everything.
Common errors in QC files include incorrect slashes in paths, missing dollar signs before commands, and wrong material directories. QC files should always be saved as ANSI, not UTF-8. Simple models should be tested before more complex characters are attempted.
Step by Step SFM Compile Process
It only takes ten minutes to get your model compiled once you know the workflow. These steps should be taken in sequence to avoid major errors.
To begin with, organize your files. Make a models folder for SMD files and a materials folder for textures. Your folder structure should reflect the way SFM expects to find files. Wrong organization causes path errors in compilation.
Next, prepare your textures. Source Filmmaker supports images in VTF format and VMT files that describe how the textures behave. Use VTFEdit to convert TGA or PNG images into VTF. Create a simple VMT file which references your VTF texture.
Open Crowbar and load your QC file. Choose the output directory where compiled files should be saved. Click the compile button and watch the log window. If errors appear, the log points to the problem line in your QC file.
Once compilation succeeds, you will have several files: MDL contains your model data, VVD has vertex information, VTX has rendering information, and PHY has physics properties. These files work together, so keep them in the same folder.
Finally, copy files to your SFM usermod directory. Navigate to SourceFilmmaker/game/usermod/models and place your files there. Open SFM, create a new scene, and find your model in the asset browser.
Testing Your Compiled Model
You must verify that everything is working before you celebrate. Errors are easier to fix when caught early.
Load HLMV first. Open your MDL file and rotate the model at every angle. Confirm that textures load without pink checkerboard. Move the bones by clicking on various skeleton parts. Test that physics collision meshes are enabled when they should be.
Next, import the model into SFM. Place it in a scene and try simple poses. Use the manipulator tools to move the bones. Test default animations if you added any. Check how lighting behaves on the surface and how materials react.
Watch out for common problems: Models that sink through the floor need fixes in the QC file. Twisted limbs show that there is an issue with bone orientation in your starting mesh. Missing textures indicate incorrect paths in your VMT files.